GoDay.ca | Online Payday Loans
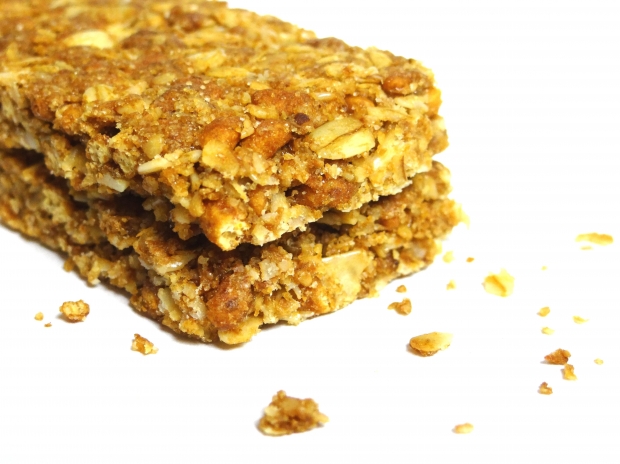
Who doesn’t love a tasty granola bar? They’re the perfect breakfast if you’re in a hurry, a snack between meals, or to pack in your kid’s lunches. Unfortunately, the cheapest pre-made ones are often filled with nasty stuff; multiple kinds of refined white sugars, oils and stuff we can’t pronounce. Yuck.
Granola bars shouldn’t be complicated and the fresher the ingredients are, the better. Most commercial granola bars have additives to help them stay on the shelf, but why do that when it’s not only healthier but more cost-effective to make your own?
We’re supportive of all things that improve your well-being. Whether it’s increased financial freedom or a change to a healthier lifestyle, we want to help. So, I played around with a few recipes and found a favourite combination that you, friends, might like.
The following measurements are simply recommendations, you add as much of your favourite ingredients as you desire. Some of us like more chocolate in our granola than others, others like fruit, others like nuts, others like chocolate…oh, and there’s those who like chocolate. Can’t forget them.
And a pro-tip for our Canadian readers: Your local Bulk Barn is your best friend for this recipe.
This recipe will yield 5-6 thick bars.
You’ll Need:
1 cup of spelt flakes
1 cup kamut flakes
1-1.5 cups of smooth organic cashew/almond or peanut butter
3/4 of sliced almonds or cashew bits (not whole cashews, as they may not stick well, and its usually cheaper!)
1 cup of your favourite dried fruit. For inspiration: I often use cranberries, cut up un-sulphered apples, cut up dried kiwi’s or, if I’m indulging, goji berries.
3/4 cups sunflower, hemp or pumpkin seeds
1/4 cups of dark chocolate chips (optional…but not really 😉 )
1/2 cup of fresh honey
3 tbsp of un-sulphered, un-fancy molasses (not table)
Fresh fruit slices to top (optional)
Pre-heat your oven to 350F.
Instructions
Combine sticking agents (molasses and type of butter you’ve chosen) with the spelt flakes. Stir until well mixed. Slowly add in seeds, fruit and other optional fillers. Add honey last, and adjust sweetness to personal preference.
I get my honey from a bee farmer in Elora, Ontario and I quite literally squeeze & scoop from the comb. It’s delicious!
Once blended, use a spoon to fill either a muffin tray or a loaf pan. Place the tray in the oven for 10 min or until the edges become slightly golden.
Remove and let cool on counter top & cut into 6 large bars. Cool in the fridge for 2 hours after you make the cuts. Store in a container, making sure you place wax paper between each bar (they’ll still stick otherwise!).
Did You Know…
- You can chew and eat the wax the honeycomb is made out of? Bee keepers have been doing it for years and years, which termed the phrase “a bee keepers lunch”. Take it easy, though. Honey is obviously very high in natural sugar content, and it can rot your teeth over time. Moderation is key!


